Difference between revisions of "Biolabs Entrance Quest"
Jump to navigation
Jump to search
imported>Callie m |
|||
| Line 1: | Line 1: | ||
{{Quest Info | {{Quest Info | ||
| − | | levelreq = | + | | levelreq = 100 |
| joblevelreq = | | joblevelreq = | ||
| classreq = | | classreq = | ||
| − | |||
| zenyreq = | | zenyreq = | ||
| − | | | + | | questsreq = [[Acquaintances Quest]] |
| questcoreq = | | questcoreq = | ||
| − | | baseexpreward = | + | | baseexpreward = 14,231,675 EXP |
| jobexpreward = | | jobexpreward = | ||
| itemreward = {{Item List |id=2657 |item=Laboratory Permit |simple=yes}} | | itemreward = {{Item List |id=2657 |item=Laboratory Permit |simple=yes}} | ||
| − | | qreward = Access to the {{map|id=lhz_dun01 Biolabs Dungeon}} | + | | qreward = Access to the {{map|id=lhz_dun01 Biolabs Dungeon}} <br> [[President Quest]] |
| − | |||
}} | }} | ||
| Line 18: | Line 16: | ||
#*Note: To access the slum, either wait for any alert to cease (Mobsters in town are all killed (yellow text)), or do the [[Friendship Quest]]. | #*Note: To access the slum, either wait for any alert to cease (Mobsters in town are all killed (yellow text)), or do the [[Friendship Quest]]. | ||
#:[[Image:Lighthalzen Guard.png|250px]] | #:[[Image:Lighthalzen Guard.png|250px]] | ||
| − | # | + | #Go to Fishbone {{navi|lighthalzen|341|224}} and tell him about Andrea's troubles with the railroad tracks. |
| − | # | + | #*Talk with him again and he will bring you inside the sewer. |
| − | + | #:[[File:Fishburne.jpg|none|150px]] | |
| − | + | #Go 1 portal North and then 1 portal West and you will enter the Cube Room. | |
| − | #:[[ | + | #:[[File:Lighthalzen Room.png|none]] |
| − | # | ||
| − | |||
| − | |||
| − | |||
| − | |||
| − | |||
| − | |||
| − | |||
| − | |||
| − | #:[[ | ||
#Examine the '''Bed''', select '''Under the bed''' and you'll get a '''Short Stick'''. | #Examine the '''Bed''', select '''Under the bed''' and you'll get a '''Short Stick'''. | ||
#:[[File:BioLabEntrance-Bed.png]]<!--[[Image:Bed.jpg]][[Image:Checkbed.jpg]]--> | #:[[File:BioLabEntrance-Bed.png]]<!--[[Image:Bed.jpg]][[Image:Checkbed.jpg]]--> | ||
| Line 61: | Line 49: | ||
#:4 3 2 9 1 6 8 2 7 OR | #:4 3 2 9 1 6 8 2 7 OR | ||
#:3 6 4 1 2 8 7 1 5 | #:3 6 4 1 2 8 7 1 5 | ||
| − | |||
#*You have to input the numbers, one by one! The guide did not mentioned that it has to be inputted one by one. | #*You have to input the numbers, one by one! The guide did not mentioned that it has to be inputted one by one. | ||
| − | |||
| − | |||
<!--[[Image:InputNumbers.jpg]]--> | <!--[[Image:InputNumbers.jpg]]--> | ||
#Now, examine the '''Power Generator'''. Type in '''''Yellow Key'''''. | #Now, examine the '''Power Generator'''. Type in '''''Yellow Key'''''. | ||
| Line 82: | Line 67: | ||
#* You'll get 2 options. Choose the ''Go down'' option. | #* You'll get 2 options. Choose the ''Go down'' option. | ||
<!--:[[Image:GoDown.jpg]]--> | <!--:[[Image:GoDown.jpg]]--> | ||
| − | # | + | #*:Exit the sewer and talk to '''Fishbone''' {{navi|lhz_dun02|217|7}}, he will ask you to investigate and look around to see if there are any clues. |
| − | + | #Go find the Suspicious Point {{navi|lhz_dun02|226|103}} and then report back to Fishbone in Lighthalzen. {{navi|lighthalzen|341|224}} | |
| − | # | + | #:[[File:Suspicious point.jpg|none|150px]] |
| − | + | #After reporting to Fishbone, you now have access to '''Biolabs''' from the ''Sewage Pipe''. {{navi|lighthalzen|312|301}} | |
| − | |||
| − | |||
| − | |||
| − | |||
| − | #:[[ | ||
| − | # | ||
| − | |||
| − | |||
| − | |||
| − | |||
[[Category:Quests]] | [[Category:Quests]] | ||
[[Category:Lighthalzen Quests]] | [[Category:Lighthalzen Quests]] | ||
Revision as of 11:27, 14 January 2023
| Biolabs Entrance Quest | |
|---|---|
| Requirements | |
| Base Level: | 100 |
| Quest Prerequisite(s): | Acquaintances Quest |
| Rewards | |
| Base Experience: | 14,231,675 EXP |
| Item(s): | |
| Quest Reward(s): | Access to the Biolabs Dungeon President Quest |
- Proceed to the 3 o'clock direction of Lighthalzen.
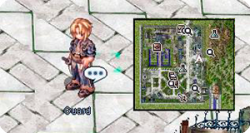
- There, you'll see a guard who stops you from moving into the slum area. Fear not, just talk to him continuously and you'll eventually make it into the slums.
- Note: To access the slum, either wait for any alert to cease (Mobsters in town are all killed (yellow text)), or do the Friendship Quest.
- Go to Fishbone and tell him about Andrea's troubles with the railroad tracks.
- Talk with him again and he will bring you inside the sewer.
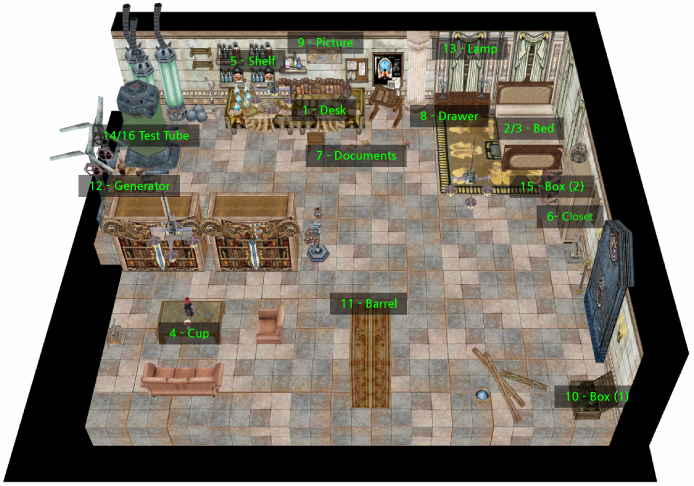
- Go 1 portal North and then 1 portal West and you will enter the Cube Room.
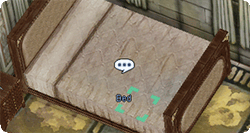
- Examine the Bed, select Under the bed and you'll get a Short Stick.
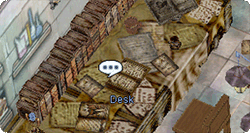
- Examine the Desk (under the Desk), you'll get another Short Stick.
- The two rods will become a Long Stick automatically.
- Check under the Bed and type in Long Stick and you'll obtain a Cube.
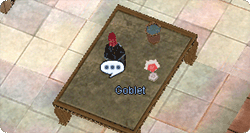
- Examine the Goblet on the table beside the bookshelf. Check its contents, you'll obtain a Rusty Key.
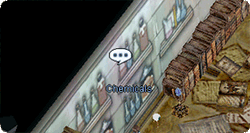
- Move towards the wall at the desk. You'll see a cabinet of Chemicals. Examine it and type in Rusty Key and you'll get a Green Key.
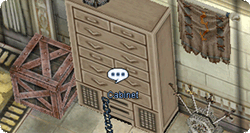
- Move to the Cabinet on the right of the room. Examine it and type in Green Key. You'll obtain a Polygon.
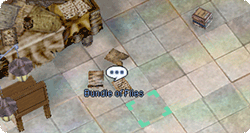
- Next, examine the Bundles of Files on the ground. You'll obtain a Red Key.
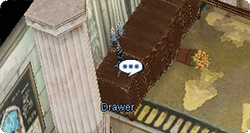
- Examine the Drawer next to the Bed and type in Red Key, you'll obtain a Jackknife.
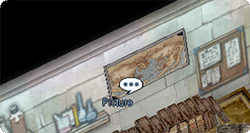
- Examine the Picture above the Desk. You'll select the option to move it. Type in Jackknife.
- You'll obtain a set of numbers. Write these down or take a screenshot.
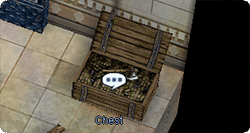
- Now, move on the the right hand corner of the room to find a Chest. Take the Axe in it.
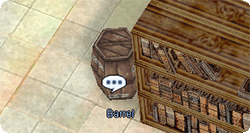
- Move to the Barrel and examine it. Type in Axe.
- Examine the Barrel again. It asks for 9 numbers.
- 4 9 3 7 6 2 8 6 6 OR
- 4 3 2 9 1 6 8 2 7 OR
- 3 6 4 1 2 8 7 1 5
- You have to input the numbers, one by one! The guide did not mentioned that it has to be inputted one by one.
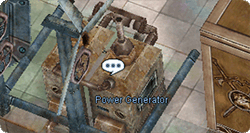
- Now, examine the Power Generator. Type in Yellow Key.
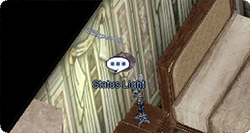
- Then, move to the Status Light beside the Bed. Smash the light bulb and you'll obtain a Black Key.
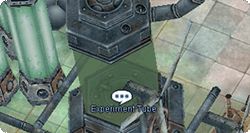
- Examine the huge Experiment Tube on the left hand side of the room and type in Black Key. you'll get an Oval.
- Go to the Box beside the Cabinet. Examine it and you'll have these 3 options:
- Oval Shape, Cube Shape, and Polygon Shape
- For each of the following shapes, type in: Oval, Cube, Polygon
- After typing those in, examine the Box again. You'll eventually get a Laboratory Permit!
- Go back to the Experiment Tube, and examine it again. Type in Laboratory Permit.
- You'll get 2 options. Choose the Go down option.
- Exit the sewer and talk to Fishbone , he will ask you to investigate and look around to see if there are any clues.
- You'll get 2 options. Choose the Go down option.
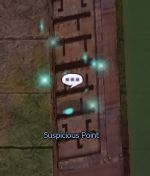
- Go find the Suspicious Point and then report back to Fishbone in Lighthalzen.
- After reporting to Fishbone, you now have access to Biolabs from the Sewage Pipe.
